This module is very similar to other OIDC methods like Azure, Okta, AD FS, PingIdentity, and the generic OpenID Connect, but has specific functionality in it to work with Ping Identity. You will also want to review the general Auth Module document for more information on authentication as a topic.

Because this authentication is handed off to the provider, it offers full SSO and MFA support per the provider configuration.
Generally speaking, you will want to enable Use Authorization Code Flow. If there is a problem, you can disable this as a test of falling back to another code flow method.
Account Name Style is partially cosmetic but can have a functional impact. This allows you to set how the account is displayed in the Web UI upper corner, as well as how it is recorded in logs, and shows in the Account list in the platform. This can be important to avoid collisions. If you use Full Name for example and two people are John Smith, we have an issue. But if you use UPN Without Domain and that results in jasmith and jbsmith, then there is no issue because those are unique names for account records.
The Label is arbitrary and will be displayed on the login page. In General using the name of the service (e.g. Google or Azure) as the label is expected.
The Redirect URL should always be https://[your.keyserver.hostname]/sso
Configuration
Requirements:
- PingIdentity admin account that can create apps
- KeyServer running on Windows or Linux
- KeyConfigure running on Windows
- “Create PingIdentity Apps” script (com.sassafras.ping-setup.jst) installed in KeyConfigure
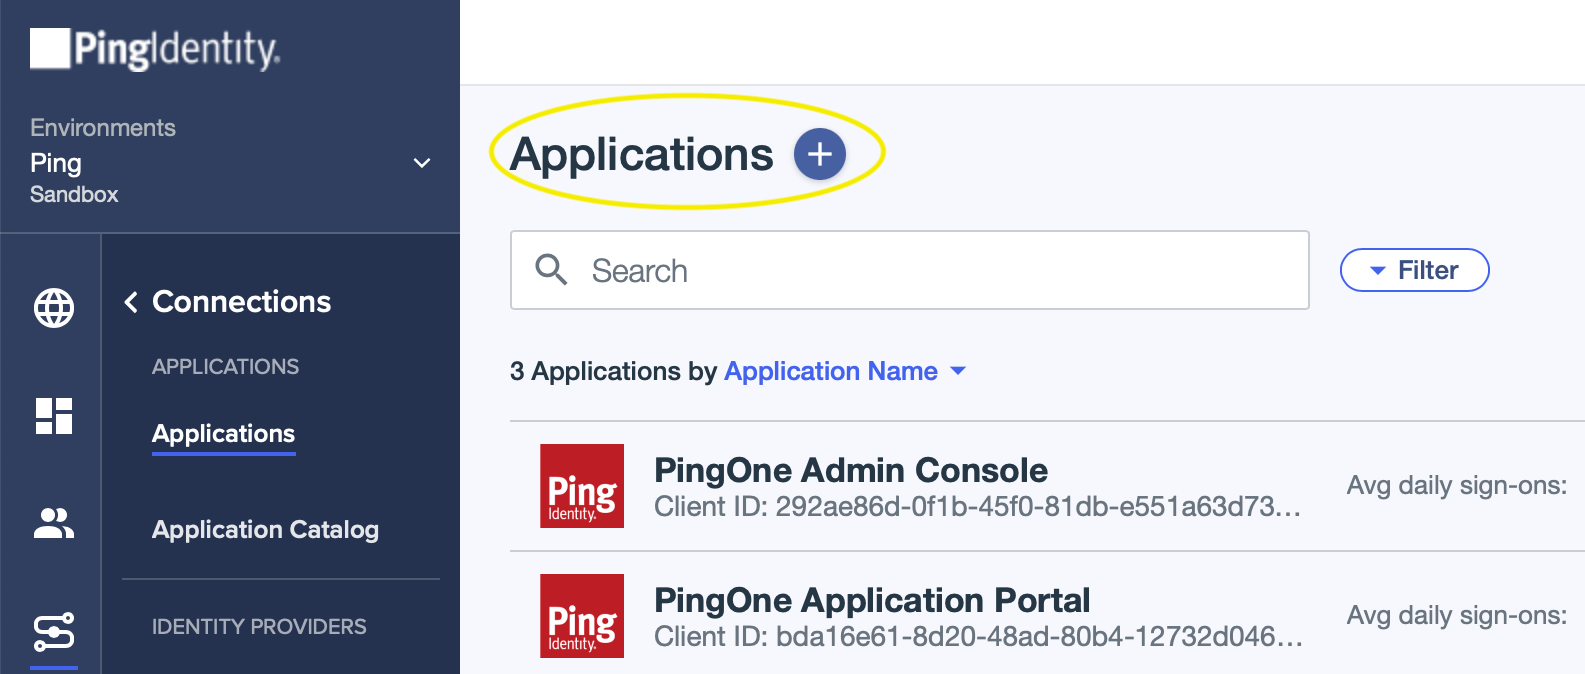
- Sign in to your PingOne dashboard (https://console.pingone.com or otherwise according to your location) and navigate to the Connections page.

- Click the + next to the “Applications” header to add a new Application.
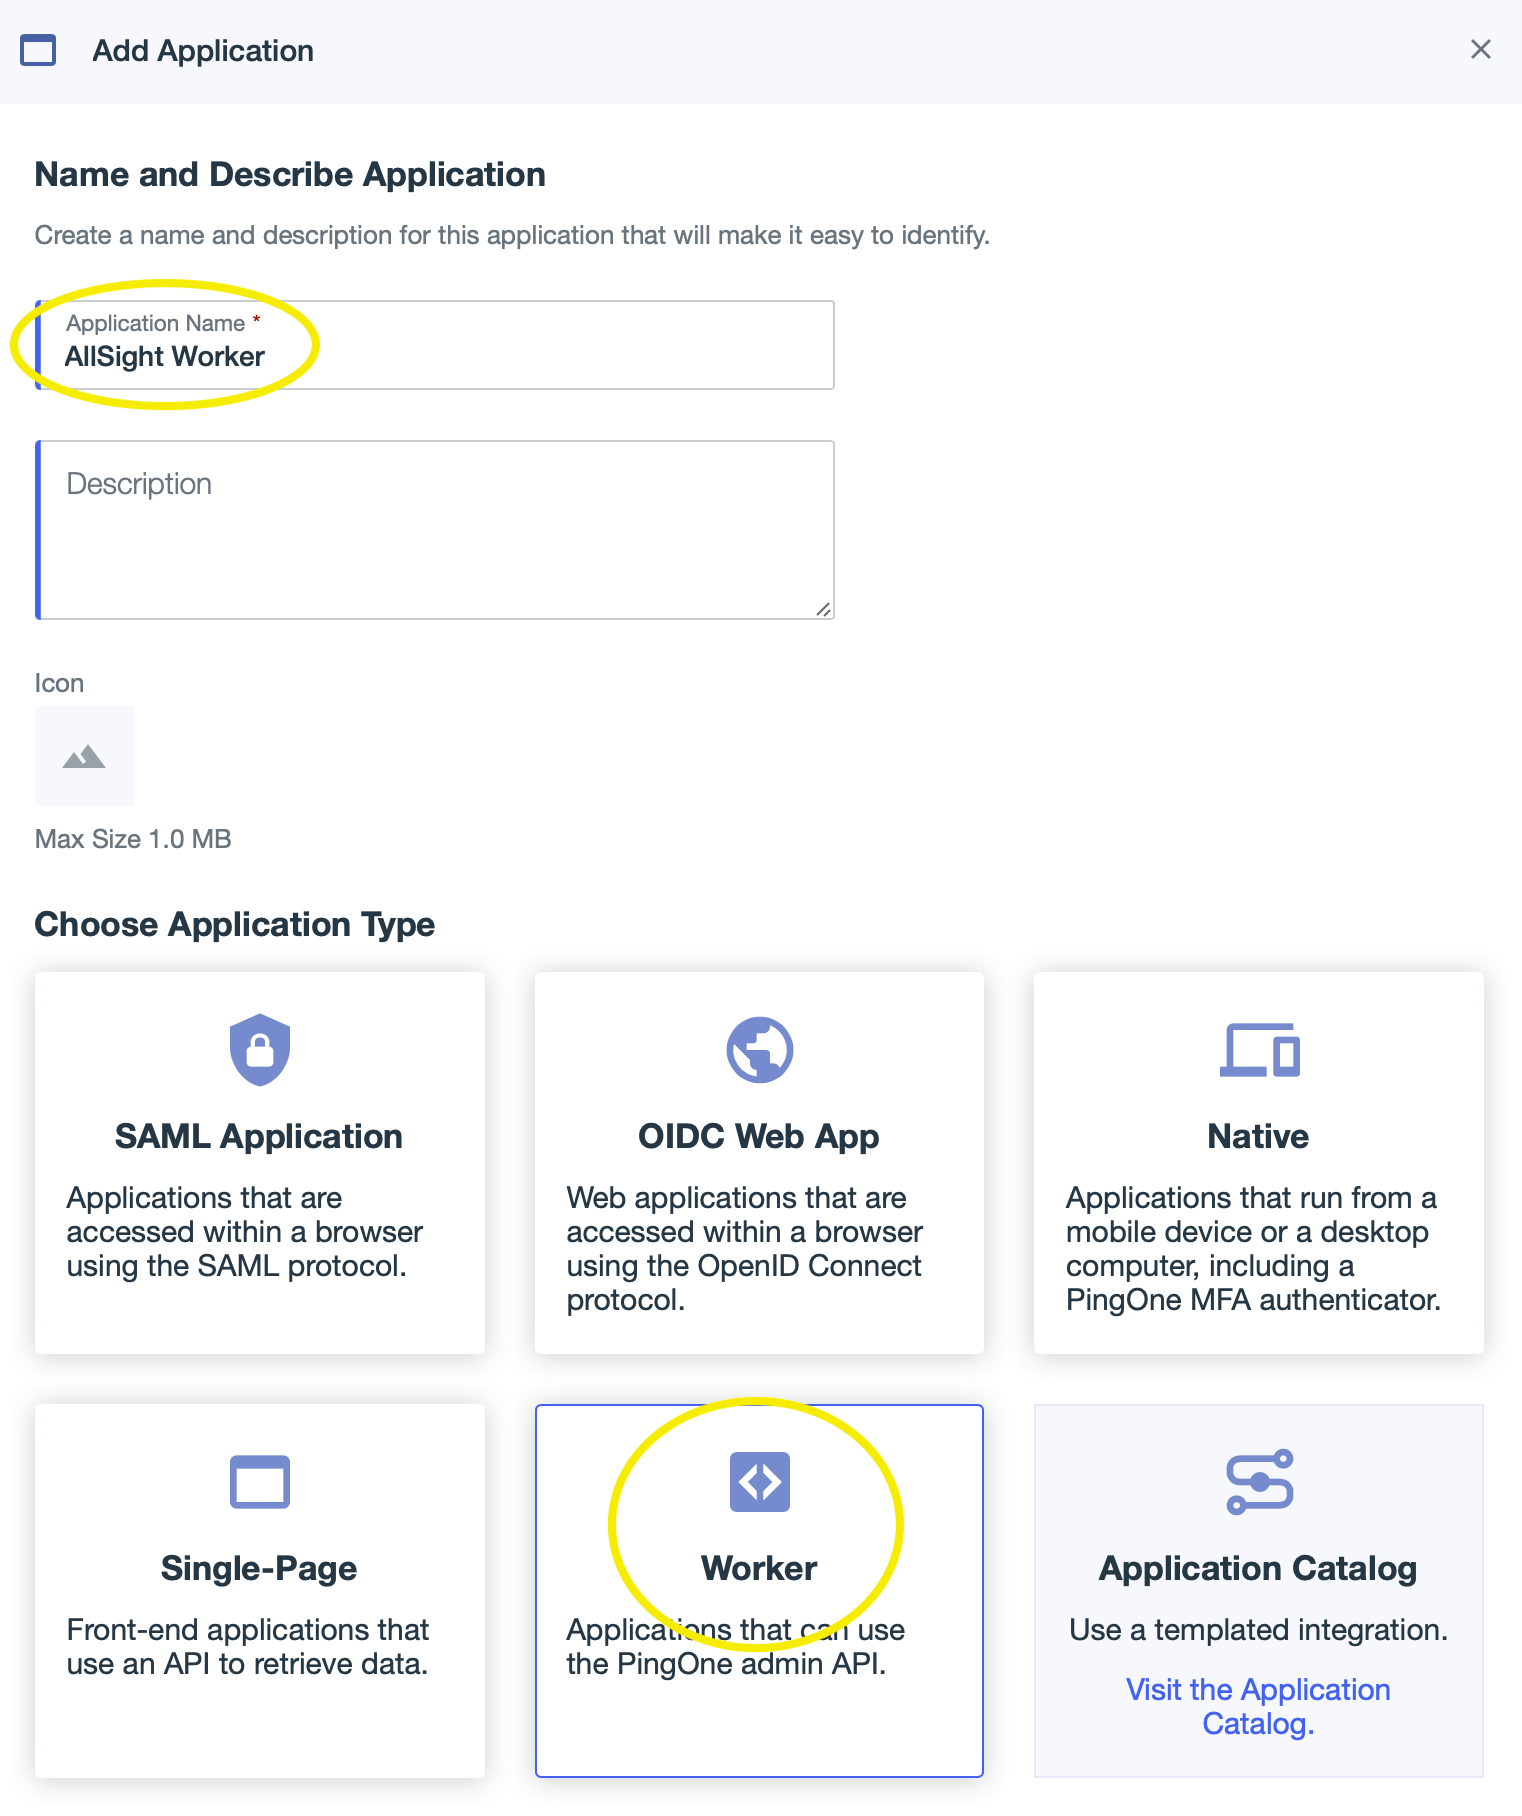
- Enter “AllSight Worker” as the application name (the name can be anything you want but should end with “ Worker”). Click the “Worker” application type, then click Save to create the new application.
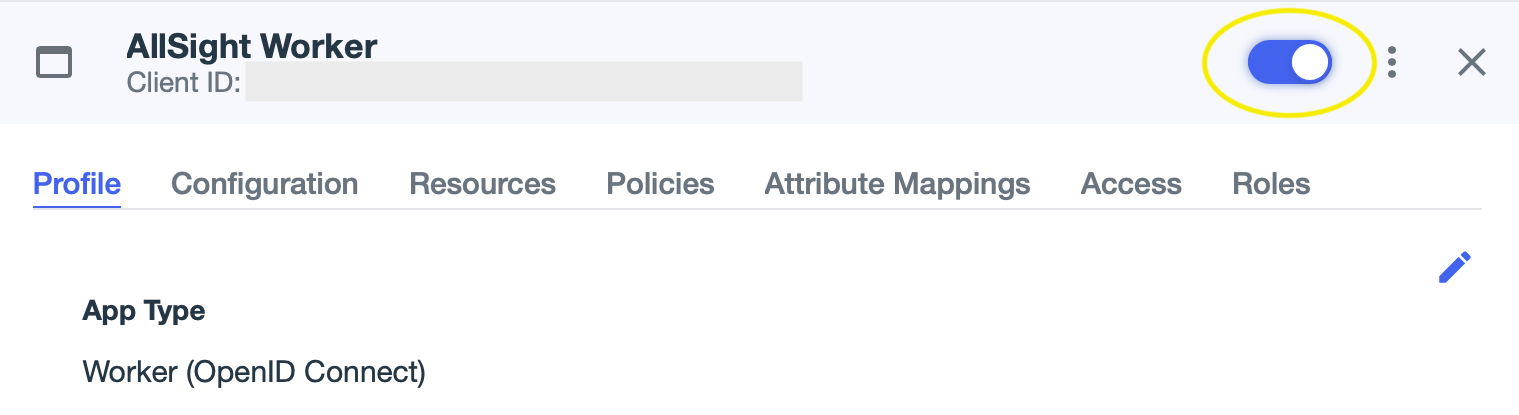
- Enable the application by clicking the slider button in the upper right of the app info panel.
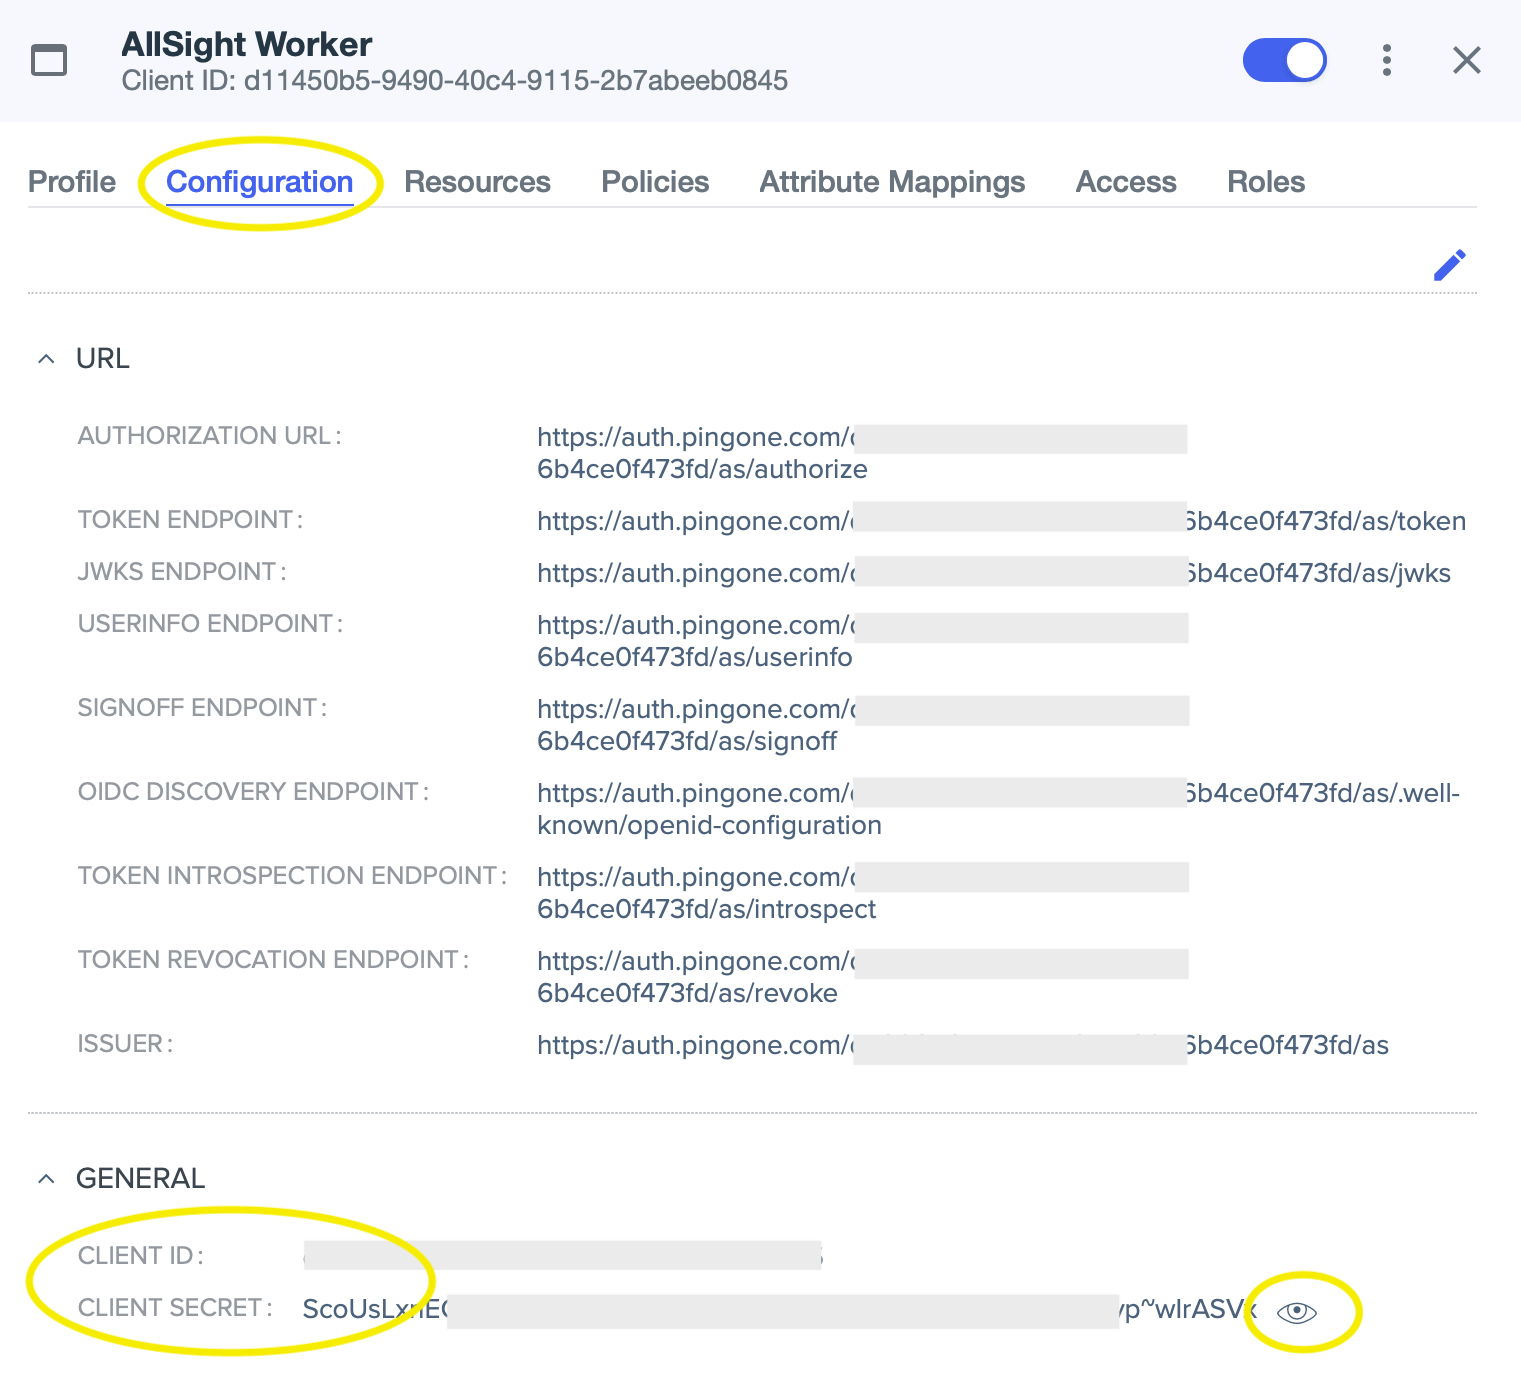
- Click on the Configuration tab, expand the General area if necessary, and copy the Client ID and Client Secret values to a convenient place (a new text document, etc). You’ll need to click the “eye” icon next to the secret in order to see the value to copy.
- Next, navigate to the Environment page.

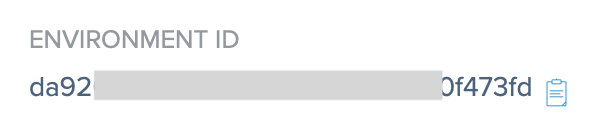
- On the Environment page, copy the Environment ID to a convenient place.
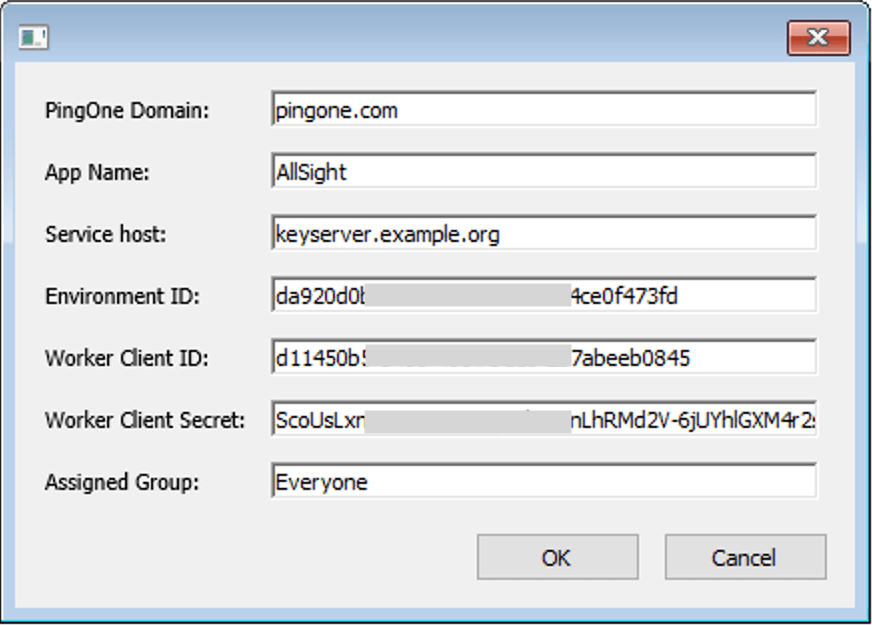
- In KeyConfigure, with the PingIdentity script installed, Choose “Create PingIdentity Apps” from the Tasks menu. The PingOne domain must be set according to your location, as required and documented by PingIdentity.
- Canada: pingone.ca
- Europe: pingone.eu
- Asia Pacific: pingone.asia
- Otherwise: pingone.com
For the “App Name” use “AllSight”, or whatever you chose for the name of the Worker app above, without the “ Worker” suffix. The Service Host should be the host name of your KeyServer host computer. Copy and paste the next three values from wherever you saved them above. Leave the “Assigned Group” as the default. Click OK to proceed with the configuration. An additional web app will be created in PingIdentity, and your KeyServer will be configured to use PingIdentity for Admin authentication.
- Once everything is set up you’ll see a message like this:

Advanced:
If you want you can use an existing Worker app to create the app(s) that KeyServer needs. This app should have sufficient permissions to create other apps. By default, Worker apps have the necessary permissions. If you use this method, the script will create two additional apps in PingIdentity. The worker app you use in the setup script will not be referenced or used in any other way once the setup process is complete.
The worker app used by KeyServer (whether you create it manually or have it created by the script) only needs permissions to read users in your directory. By default, worker apps have more permissions than are needed when initially created. You can edit the permissions by changing the Roles assigned to the Worker app. Be sure to test each change that you make, and reverse the changes if they break your admin authentication.